Honda CRV Battery Light (Causes & Fixing) of 2024
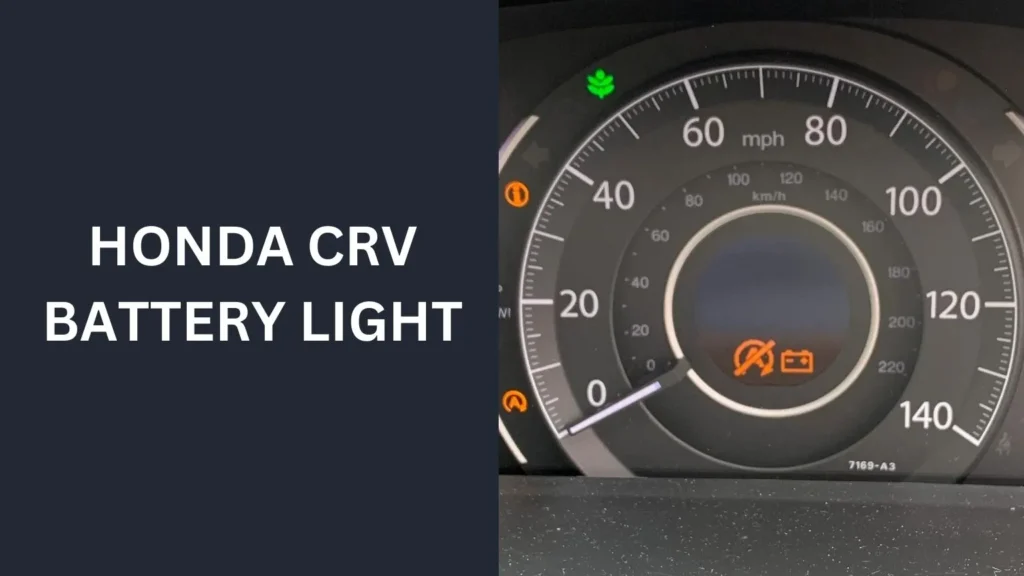
The battery light on your Honda CR-V’s dashboard is more than just another warning indicator. It serves as a crucial signal of potential issues with your vehicle’s battery or charging system.
Honda CRV Battery Light, Understanding what triggers this light and how to respond can prevent costly repairs and ensure your vehicle’s reliability.
What Does the Battery Light Indicator Mean?
When you see the battery light illuminated on your dashboard, it typically signifies a problem with the electrical charging system of your Honda CR-V. This warning light indicates that the battery is not receiving sufficient charge or that there is an issue with the alternator, which is responsible for keeping the battery charged while the engine is running.
Causes of Honda CRV Battery Light On
The battery light on your Honda CR-V’s dashboard can illuminate due to various underlying issues related to the vehicle’s electrical system. Understanding these causes is essential for prompt diagnosis and resolution:
Low Battery Voltage
One of the primary reasons for the battery light coming on is low battery voltage. This occurs when the battery is unable to maintain a sufficient charge due to age, prolonged use, or other factors. When the battery voltage drops below a certain threshold, the vehicle’s electrical system triggers the battery light to alert the driver.
Faulty Alternator
The alternator plays a crucial role in charging the battery while the engine is running. If the alternator fails to generate enough electrical power to recharge the battery or if it malfunctions, the battery light will illuminate. Common issues include worn-out brushes, faulty diodes, or a slipping drive belt.
Issues with Battery Terminals
Corrosion or loose connections at the battery terminals can disrupt the electrical flow between the battery and the vehicle’s electrical system. This disruption can cause intermittent charging problems, leading to the battery light coming on. Regular inspection and cleaning of battery terminals can help prevent such issues.
Electrical System Malfunctions
In some cases, the battery light may indicate broader electrical system malfunctions. Issues such as a faulty voltage regulator, wiring problems, or a malfunctioning battery sensor can cause irregular charging patterns, triggering the battery light warning.
Damaged Wiring or Connections
Damage to the wiring harness or electrical connections between the battery, alternator, and other components can lead to erratic electrical behavior. Frayed wires, loose connections, or corrosion can disrupt the charging system’s functionality, prompting the battery light to come on.
Extreme Temperature Conditions
Extreme temperatures, both hot and cold, can affect battery performance and contribute to the battery light coming on. Cold weather can reduce battery efficiency, while excessive heat can accelerate battery deterioration and alternator wear, affecting overall charging system performance.
Aging Battery
As batteries age, their ability to hold a charge diminishes. An older battery may struggle to maintain sufficient voltage, especially under heavy electrical loads or during cold starts, triggering the battery light indicator.
Electronic Component Issues
Issues with electronic components such as the vehicle’s computer system or onboard sensors can also impact the charging system’s performance. Faulty sensors that monitor battery voltage or alternator output can incorrectly signal a problem, leading to the battery light illuminating.
Symptoms of a Battery or Charging System Issue
Aside from the illuminated battery light, you may notice other signs indicating a problem:
- Dimming Headlights: Dim or flickering headlights are a common symptom of a failing charging system.
- Electrical System Malfunctions: Issues with power windows, radio, or dashboard lights may indicate low voltage or a failing battery.
Diagnosing the Problem
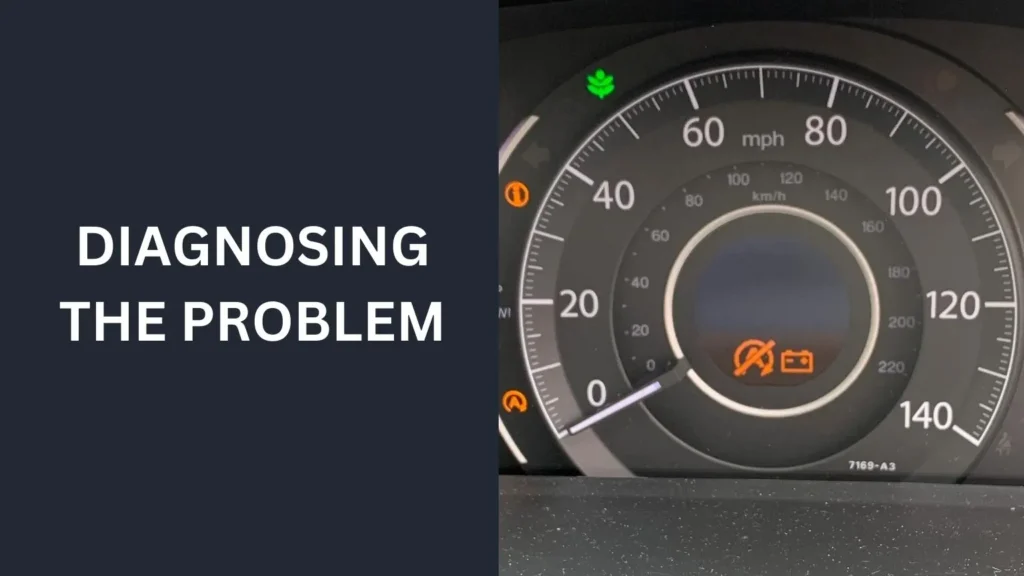
When the battery light illuminates your Honda CR-V’s dashboard, it’s crucial to diagnose the underlying issue promptly to prevent further damage and ensure vehicle reliability. Here are steps you can take to diagnose the problem:
Initial Assessment
- Dashboard Check: Take note of any other symptoms or warning lights on the dashboard, which can provide clues about the nature of the issue.
- Vehicle Behavior: Observe how the vehicle is performing. Note any unusual noises, electrical malfunctions, or changes in engine performance.
Check Battery Connections
- Inspect Terminals: Visually inspect the battery terminals for signs of corrosion, buildup, or loose connections. Clean terminals and ensure they are tightly secured to the battery posts.
- Tighten Connections: Use a wrench or battery terminal tool to tighten any loose connections to ensure solid electrical contact.
Test Battery Voltage
- Use a Multimeter: Measure the voltage across the battery terminals with the engine off. A fully charged battery should read around 12.6 volts or higher.
- Start the Engine: With the engine running, recheck the battery voltage. It should read between 13.7 to 14.7 volts, indicating that the alternator is charging the battery correctly.
Inspect Alternator Output
- Voltage Output Test: Perform a voltage output test on the alternator to ensure it is functioning properly. Connect the multimeter to the battery terminals and check the voltage output while the engine is running.
- Steady Output: The alternator should maintain a steady voltage output within the specified range (typically 13.7 to 14.7 volts). Fluctuating or low voltage readings may indicate an alternator problem.
Check for Electrical Draw
- Parasitic Draw Test: Perform a parasitic draw test to identify any electrical components or circuits that are drawing excessive current when the vehicle is off, draining the battery over time.
- Disconnect Components: Disconnect non-essential electrical components one by one and retest for a parasitic draw until the culprit is identified.
Inspect Alternator Belt
- Belt Condition: Visually inspect the alternator belt for signs of wear, cracks, or looseness. A worn-out or slipping belt can affect the alternator’s ability to charge the battery properly.
- Adjust or Replace: Adjust the belt tension or replace the belt if necessary to ensure proper operation of the alternator.
Scan for Error Codes
- OBD-II Scanner: Use an OBD-II scanner to retrieve any stored error codes related to the battery, alternator, or electrical system. These codes can provide specific diagnostic information to pinpoint the problem.
Professional Inspection
- Certified Technician: If you’re unable to diagnose the issue or if the problem persists after DIY checks, it’s recommended to consult a certified Honda technician. They have the expertise and diagnostic tools to conduct more in-depth inspections and repairs.
Document Findings
- Record Observations: Keep a record of your diagnostic steps, including voltage readings, test results, and any symptoms observed. This information can be valuable for discussing the issue with a professional technician.
Steps to Take When the Battery Light Comes On
When you first notice the battery light on your Honda CR-V’s dashboard, it’s essential to:
- Immediate Actions: Safely pull over and turn off unnecessary electrical accessories to reduce strain on the battery.
- Safety Precautions: Avoid driving for extended periods until the issue is diagnosed and resolved to prevent a potential breakdown.
Common Solutions for Honda CR-V Battery Light Issues
Depending on the diagnosis, common solutions may include:
- Replacing the Battery: If the battery is old or unable to hold a charge, replacing it may resolve the issue.
- Repairing or Replacing the Alternator: A faulty alternator may need repair or replacement to restore proper charging functionality.
DIY Tips for Maintenance
Regular maintenance of your Honda CR-V’s battery and charging system can help prevent issues with the battery light and ensure reliable vehicle performance. Here are some practical tips you can follow:
Battery Inspection and Cleaning
- Visual Inspection: Regularly inspect the battery for signs of corrosion, leaks, or damage. Look for buildup around the terminals and on the battery itself.
- Clean Terminals: Use a mixture of baking soda and water to clean corrosion off the battery terminals. Disconnect the terminals, scrub with a wire brush, and rinse with clean water. Dry thoroughly before reconnecting.
- Inspect Battery Case: Check for cracks or bulges in the battery case, which may indicate internal damage or potential leaks.
Check Battery Fluid Levels
- Sealed Batteries: If your Honda CR-V has a maintenance-free or sealed battery, ensure the battery is securely mounted and check for any signs of leakage.
- Non-Sealed Batteries: For non-sealed batteries, check the electrolyte levels periodically. Add distilled water if necessary, ensuring the plates are fully submerged.
Alternator Belt Inspection
- Visual Inspection: Inspect the alternator belt for signs of wear, cracks, or fraying. Replace the belt if it appears worn out or loose.
- Belt Tension: Check the tension of the alternator belt according to manufacturer specifications. A loose belt can affect the alternator’s efficiency in charging the battery.
Test Battery Voltage
- Regular Checks: Use a multimeter to measure the battery voltage periodically, especially before long drives or during extreme weather conditions.
- Ideal Voltage: A fully charged battery should read around 12.6 volts or higher. While the engine is running, the voltage should range between 13.7 to 14.7 volts, indicating proper charging by the alternator.
Avoid Excessive Electrical Load
- Turn-Off Accessories: Minimize the use of electrical accessories when the engine is off to reduce strain on the battery. Ensure lights, radio, and other electronics are turned off when not in use.
- Unload Electrical System: If possible, avoid using high-power electrical components simultaneously to prevent excessive drain on the battery and alternator.
Temperature Considerations
- Extreme Weather Preparation: During hot weather, protect the battery from direct sunlight to prevent overheating and premature deterioration. In cold weather, consider using a battery blanket or insulator to maintain optimal operating temperatures.
Regular Vehicle Use
- Drive Regularly: Regularly driving your Honda CR-V helps maintain the battery’s charge and prevents it from draining excessively. Short trips or extended periods of inactivity can lead to battery discharge.
- Long-Term Storage: If storing the vehicle for an extended period, consider disconnecting the battery or using a trickle charger to maintain charge levels.
Professional Inspection
- Annual Checkup: Schedule an annual inspection with a certified technician to perform a comprehensive check of the battery, alternator, and charging system.
- Diagnostic Testing: If you notice persistent battery light issues or unusual symptoms, seek professional diagnosis and repairs to avoid potential breakdowns.
When to Seek Professional Help
If you are unsure about diagnosing or repairing the battery light issue, it’s advisable to:
- Signs Requiring Professional Intervention: Persistent battery light illumination, despite DIY efforts, indicates the need for professional inspection.
- Certified Technicians: Consult certified Honda technicians who have the expertise and tools to diagnose and repair electrical system issues accurately.
Cost Considerations
Repair costs for addressing battery or alternator issues in a Honda CR-V can vary based on:
- Typical Repair Costs: Costs for battery replacement or alternator repair services.
- Factors Affecting Expenses: The age of the vehicle, extent of damage, and warranty coverage may influence repair expenses.
Preventive Measures to Avoid Battery and Charging System Issues
Taking proactive steps to maintain your Honda CR-V’s battery and charging system can prevent unexpected breakdowns and ensure reliable vehicle performance. Here are essential preventive measures to follow:
Regular Battery Maintenance
- Clean Terminals: Periodically clean battery terminals to remove corrosion using a mixture of baking soda and water. Scrub with a wire brush and rinse with clean water.
- Inspect Battery Condition: Check for signs of damage, leaks, or bulging in the battery case. Replace the battery if necessary to prevent future issues.
Monitor Battery Voltage
- Use a Multimeter: Measure the battery voltage regularly, especially before long drives or during extreme weather conditions. A fully charged battery should read around 12.6 volts or higher.
Check Alternator Operation
- Inspect Alternator Belt: Regularly inspect the alternator belt for signs of wear, cracks, or looseness. Replace the belt as needed to maintain proper tension and functionality.
- Test Alternator Output: Use a multimeter to test the alternator’s output voltage while the engine is running. The voltage should typically range between 13.7 to 14.7 volts.
Minimize Electrical Load
- Turn-Off Accessories: Avoid leaving electrical accessories such as lights, radio, or air conditioning running when the engine is off. This reduces the unnecessary drain on the battery.
- Unload Electrical System: Limit the use of high-power electrical components simultaneously to prevent excessive strain on the battery and alternator.
Protect from Extreme Temperatures
- Hot Weather Care: Park your Honda CR-V in shaded areas during hot weather to prevent battery overheating and premature deterioration.
- Cold Weather Preparation: Use a battery insulator or blanket in cold weather to maintain optimal battery performance and prevent freezing.
Regular Vehicle Use
- Drive Regularly: Regularly driving your vehicle helps maintain the battery’s charge and prevents it from discharging excessively. Short trips or prolonged periods of inactivity can lead to battery drain.
- Long-Term Storage: If storing the vehicle for an extended period, consider disconnecting the battery or using a trickle charger to maintain charge levels.
Follow Manufacturer Recommendations
- Scheduled Maintenance: Adhere to Honda’s recommended maintenance schedule for battery checks, alternator inspections, and overall vehicle servicing.
- Use OEM Parts: When replacing batteries or components, use genuine Honda parts to ensure compatibility and optimal performance.
Professional Inspections
- Annual Checkups: Schedule annual inspections with a certified technician to conduct thorough checks of the battery, alternator, and charging system.
- Diagnostic Testing: If you notice persistent battery light issues or unusual symptoms, seek professional diagnosis and repairs to address potential underlying issues.
People also ask
What does the battery light mean on a Honda CRV?
The battery light on a Honda CR-V indicates a problem with the vehicle’s charging system. It typically illuminates when the battery is not receiving sufficient charge from the alternator. This could be due to issues such as a faulty alternator, low battery voltage, or problems with the electrical connections. Immediate attention and diagnosis are recommended to prevent further damage or breakdowns.
Can you still drive with the battery light on?
It’s not advisable to drive with the battery light on in your Honda CR-V. The light indicates potential issues with the charging system, such as a failing alternator or low battery voltage. Continuing to drive could lead to a drained battery, loss of power to essential vehicle systems, and eventually, the vehicle may stall. It’s recommended to safely pull over, assess the situation, and seek professional assistance to avoid further damage or safety risks.
What causes the battery warning light to come on?
The battery warning light on a vehicle like the Honda CR-V typically comes on due to issues such as a failing alternator, low battery voltage, faulty electrical connections, or problems with the charging system. These issues can disrupt the battery’s ability to charge properly, triggering the warning light to alert the driver of potential electrical system problems. Immediate attention and diagnosis are necessary to address the underlying issue and prevent further complications.
What to do if the battery light comes on while driving a Honda?
If the battery light comes on while driving your Honda, it’s important to take immediate action:
Reduce Electrical Load: Turn off non-essential electrical accessories such as the radio and air conditioning to lighten the load on the battery.
Avoid Stops: If possible, avoid stopping the vehicle until you can safely reach a location where you can address the issue.
Check Connections: Inspect the battery terminals for corrosion or loose connections. If safe to do so, tighten connections or clean terminals if corrosion is present.
Monitor Gauges: Keep an eye on other dashboard gauges for any signs of additional issues, such as overheating or loss of power.
Seek Professional Help: Schedule an inspection with a certified technician as soon as possible to diagnose and repair the underlying cause of the battery light, such as a faulty alternator or battery.
Conclusion
In Conclusion, Addressing the battery light on your Honda CR-V promptly can prevent more significant issues and ensure your vehicle’s reliability on the road. By understanding the causes, symptoms, and appropriate responses, you can effectively maintain your vehicle’s battery and charging system health.

I’m Henry Leclerc, a passionate professional car mechanic with a deep love for Honda cars. With years of hands-on experience and extensive knowledge about all Honda car models, I’ve created this website to share my expertise and help fellow Honda enthusiasts keep their vehicles in top-notch condition.