Check Charge System Honda (Causes & Fix) of 2024
Driving your Honda should be a smooth and worry-free experience, but sometimes issues can arise with the charging system that affects performance and reliability.
Check Charge System Honda, Understanding how to check and maintain your Honda’s charge system can save you from unexpected breakdowns and repairs down the road.

Introduction
In modern vehicles like Honda cars, the charge system plays a crucial role in powering everything from your headlights to the dashboard electronics. This article dives into what the charging system entails, how to identify potential issues, and steps you can take to ensure your Honda’s charge system remains in top condition.
Understanding the Charge System
The charge system in your Honda consists of several key components working together harmoniously. At its core are the battery, alternator, voltage regulator, and various wiring connections. The alternator, driven by the engine, generates electricity to keep the battery charged and power the electrical systems while the vehicle is running.
Signs of Charge System Issues
Detecting early signs of charge system problems can prevent more significant issues later on. Watch out for dashboard warning lights, such as the battery or alternator light, indicating potential charging system problems. Dimming headlights or difficulty starting your Honda are also common indicators of a faltering charge system.
How to Check Charge System Honda?
You don’t need to be a mechanic to perform basic checks on your Honda’s charge system. Using a multimeter, you can measure the voltage across the battery terminals to ensure it’s within the recommended range. Inspecting the battery terminals for corrosion and checking the alternator’s output voltage are also essential steps in diagnosing charge system health.
Common Charge System Problems
Even with regular maintenance, your Honda’s charge system can still encounter problems. Understanding the common issues can help you diagnose and address them promptly, ensuring your vehicle remains reliable. Here are some of the typical problems you might face:
Battery Corrosion
Battery terminals can corrode over time, leading to poor electrical connections. This corrosion, typically a white or blueish powdery substance, can hinder the flow of electricity, causing starting issues and poor battery performance. Regularly cleaning the battery terminals with a mixture of baking soda and water can prevent this problem.
Alternator Belt Issues
The alternator belt, also known as the serpentine belt, drives the alternator to generate electricity. Over time, this belt can become worn, cracked, or loose, which can prevent the alternator from charging the battery properly. If you hear a squealing noise from the engine bay or notice the battery light on the dashboard, it might be time to inspect and replace the alternator belt.
Faulty Voltage Regulator
The voltage regulator controls the amount of voltage sent to the battery. If it malfunctions, it can either overcharge or undercharge the battery, leading to a range of issues from a dead battery to electrical system failures. Symptoms of a faulty voltage regulator include flickering headlights, dashboard lights dimming or brightening unexpectedly, and the battery warning light staying on.
Weak or Failing Battery
Batteries have a finite lifespan and will eventually wear out. Signs of a weak or failing battery include slow engine cranking, dim lights, and the need for frequent jump-starts. Testing the battery voltage regularly and replacing it every 3 to 5 years can prevent unexpected failures.
Loose or Damaged Wiring
The charge system relies on a network of wires to connect the battery, alternator, and voltage regulator. Loose, frayed, or damaged wiring can interrupt this connection and cause charging problems. Inspecting the wiring for any signs of wear and securing any loose connections can help maintain the charge system’s integrity.
Defective Alternator
The alternator is a critical component of the charge system, converting mechanical energy into electrical energy. A defective alternator can lead to a completely drained battery and an inability to start the car. Signs of a failing alternator include dimming lights, electrical issues, and a dead battery despite a recent charge. If you suspect the alternator is the issue, it should be tested and replaced if necessary.
Blown Fuse
A blown fuse in the charging system can stop the flow of electricity and prevent the battery from charging. Fuses are designed to protect electrical circuits, and a blown fuse might indicate an underlying problem. Checking the fuse box and replacing any blown fuses can restore the charge system’s function, but it’s essential to identify and address the root cause of the blown fuse.
DIY Charge System Inspection
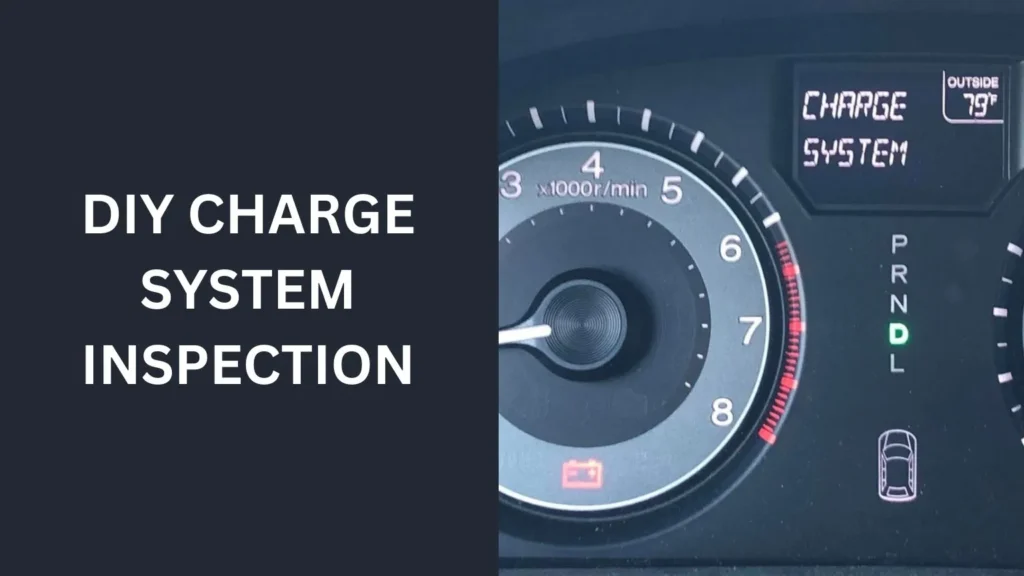
For proactive maintenance, regular inspections of your Honda’s charge system are invaluable. This section provides a step-by-step guide on how to check battery voltage and offers practical tips on maintaining battery health, such as keeping terminals clean and ensuring secure connections.
When to Seek Professional Help
While DIY checks are beneficial, some symptoms require professional attention. If you notice persistent battery warning lights or experience erratic electrical behavior, it’s best to consult a qualified mechanic. Timely repairs can prevent further damage to your Honda’s electrical system.
Preventative Maintenance Tips
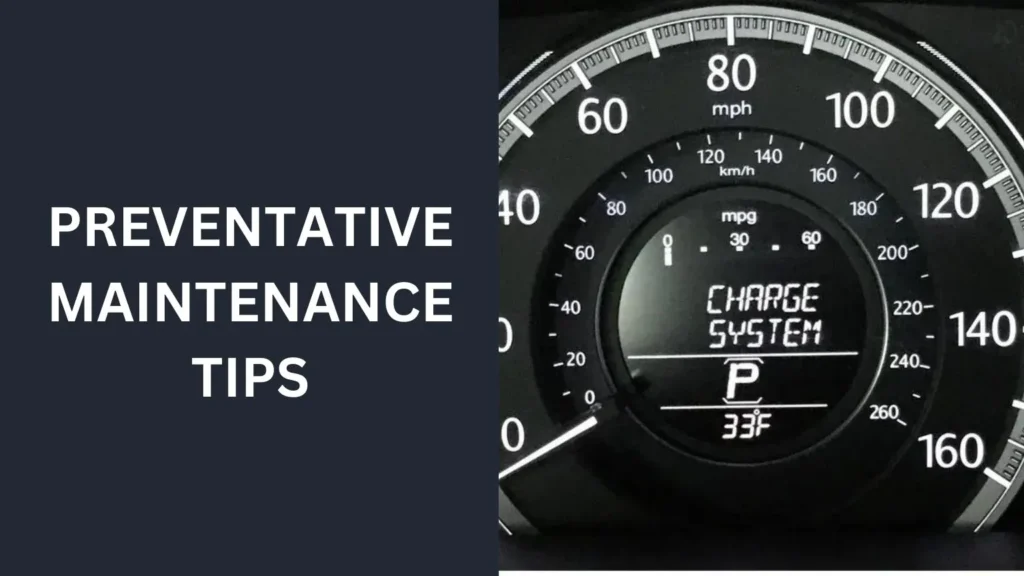
Keeping your Honda’s charge system in optimal condition involves regular maintenance and proactive care. Here are some essential preventative maintenance tips to help you avoid common charge system problems and ensure your vehicle remains reliable:
Regular Battery Checks
Performing regular battery checks is one of the simplest yet most effective ways to maintain your charge system. Here’s how you can do it:
- Visual Inspection: Look for any signs of corrosion on the battery terminals. Check for cracks, bulges, or leaks on the battery case, which can indicate damage.
- Battery Voltage: Use a multimeter to measure the battery voltage. A healthy battery should read around 12.6 volts when the engine is off and between 13.7 to 14.7 volts when the engine is running.
Keep Battery Terminals Clean
Corroded battery terminals can lead to poor electrical connections and charging issues. Keeping the terminals clean helps maintain a strong electrical connection:
- Cleaning Procedure: Disconnect the battery cables, starting with the negative terminal. Use a mixture of baking soda and water with a wire brush to clean off any corrosion. Rinse with water and dry thoroughly before reconnecting the cables.
Ensure Secure Connections
Loose or poorly connected cables can cause charging problems. Regularly check that all battery and alternator connections are tight and secure:
- Tighten Connections: Ensure that the battery terminals are firmly attached to the battery posts. Check the alternator connections and any related wiring for security.
Inspect the Alternator Belt
The alternator belt drives the alternator and is crucial for generating electricity. Regularly inspecting and maintaining the belt can prevent charge system failures:
- Check for Wear: Look for cracks, fraying, or glazing on the belt. A worn or damaged belt should be replaced immediately.
- Proper Tension: Ensure the belt is properly tensioned. A loose belt can slip and reduce the alternator’s efficiency, while an overly tight belt can cause excessive wear on the bearings.
Monitor Electrical System Performance
Pay attention to the performance of your Honda’s electrical system. Unusual behavior can be an early warning sign of charge system issues:
- Dashboard Lights: Keep an eye on the battery or alternator warning lights on the dashboard. If they come on while driving, it indicates a problem that needs immediate attention.
- Headlight Brightness: Notice if your headlights dim or flicker, especially when idling. This can signal an issue with the alternator or battery.
Perform Regular Voltage Checks
Regular voltage checks can help you catch potential problems early:
- Using a Multimeter: Measure the battery voltage regularly to ensure it stays within the recommended range. If you notice significant deviations, investigate further or seek professional help.
Protect the Battery
Extreme temperatures can affect battery performance. Protecting your battery from harsh conditions can extend its lifespan:
- Insulate the Battery: In cold climates, consider using a battery blanket or insulation to keep the battery warm. In hot climates, ensure the battery is not exposed to excessive heat.
Replace Old Batteries
Batteries have a finite lifespan and should be replaced before they fail:
- Lifespan: Most car batteries last between 3 to 5 years. Regularly testing the battery and replacing it within this timeframe can prevent unexpected failures.
Use the Right Battery
Using the correct type and size of battery for your Honda is crucial for optimal performance:
- Manufacturer’s Recommendations: Always follow the manufacturer’s specifications for battery type and size. Using an incompatible battery can lead to poor performance and potential damage to the electrical system.
Check the Voltage Regulator
The voltage regulator ensures the correct amount of voltage is sent to the battery:
- Testing: If you experience erratic electrical behavior, have the voltage regulator tested to ensure it’s functioning correctly. A faulty regulator can overcharge or undercharge the battery, leading to various issues.
People also ask
What does “check charge system” mean on a Honda?
When your Honda displays a “Check Charge System” warning, it means there is an issue with the vehicle’s charging system, which includes the battery, alternator, voltage regulator, and related wiring. This warning indicates that the battery is not being charged properly, which could lead to the battery draining and the car eventually stalling. It’s crucial to diagnose and fix the problem promptly to avoid further electrical issues and ensure your vehicle operates reliably.
How do I fix my check charging system?
To fix the “Check Charge System” warning on your Honda:
Inspect Battery Connections: Ensure the battery terminals are clean and tightly connected.
Check the Battery: Use a multimeter to test the battery voltage. Replace if it’s weak or failing.
Examine the Alternator Belt: Check for wear or damage and replace if necessary.
Test the Alternator: Use a multimeter to ensure it’s producing the correct voltage. Replace if faulty.
Inspect Wiring: Look for loose or damaged wires and secure or replace them as needed.
Can I still drive with the check charging system on?
It’s not recommended to drive with the “Check Charge System” warning on. The battery may not be charging properly, which can lead to a dead battery and the car stalling. Address the issue as soon as possible to avoid getting stranded and causing further damage to your vehicle’s electrical system.
What does a charging system warning light mean?
The charging system warning light means there’s a problem with your vehicle’s charging system, typically involving the battery, alternator, or related wiring. It indicates that the battery isn’t being charged properly, which can lead to a dead battery and vehicle stalling if not addressed promptly.
Conclusion
In Conclusion, Ensuring your Honda’s charge system is in good condition is essential for reliable performance and safety on the road. By understanding how to check for issues and implementing preventative maintenance measures, you can enjoy peace of mind knowing your vehicle’s electrical system is well cared for.

I’m Henry Leclerc, a passionate professional car mechanic with a deep love for Honda cars. With years of hands-on experience and extensive knowledge about all Honda car models, I’ve created this website to share my expertise and help fellow Honda enthusiasts keep their vehicles in top-notch condition.